How to Install a Tension Fabric Backdrop Step by Step
 Nov 07, 2025|
 View:1924
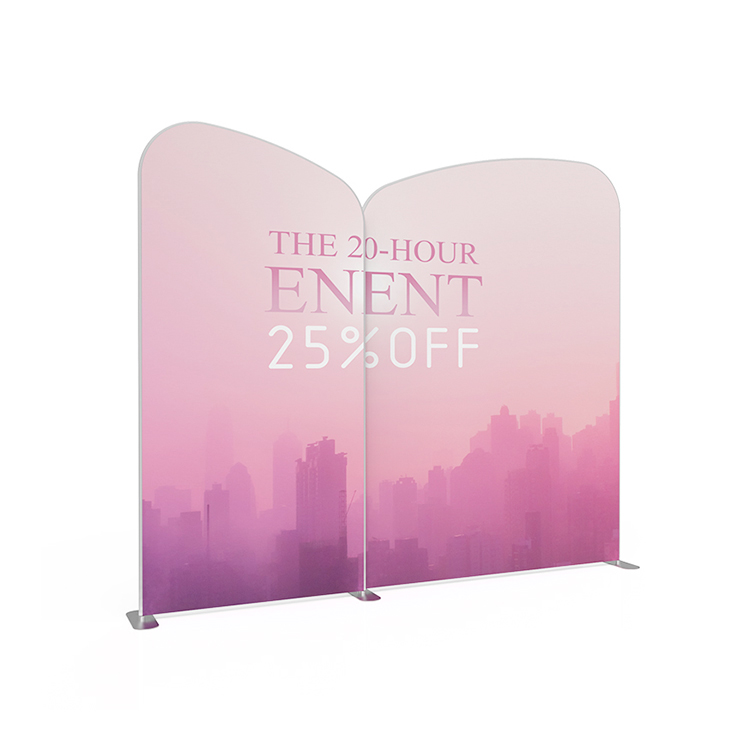
You can set up a tension fabric backdrop easily, no matter your skill.
Get a smooth look with no wrinkles for a pro finish.
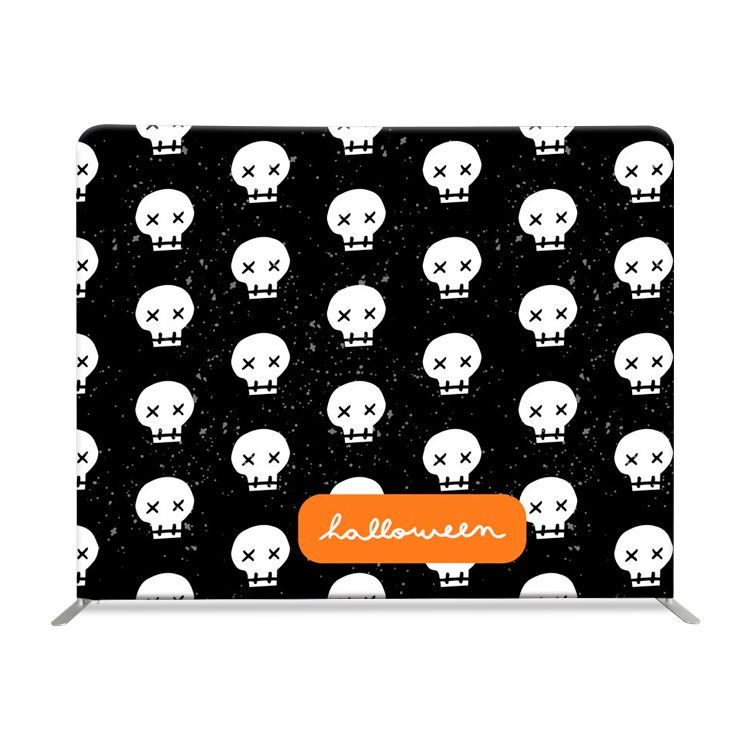
Carry and store your backdrop easily since tension fabric is light and easy to move.
Count on it to last a long time.
Change graphics fast for new events or shows.
What You Need for a Tension Fabric Backdrop

Tools and Materials List
Before you begin, gather all the items you need for a smooth installation. You should check that your kit includes every part. Missing pieces can slow you down or affect the final look.
Frame pieces (usually aluminum tubes with snap buttons)
Tension fabric graphic
Base feet for stability
Optional LED lights for enhanced display
Velcro strips for securing the fabric
Basic hand tools (if required by your frame design)
Tip: Lay out all parts on a clean surface. This helps you spot missing items and makes assembly easier.
Preparing Your Area
You must prepare your workspace before you set up the tension fabric backdrop. Safety and space matter for a professional result. Review the table below for key safety steps:
| Safety Precaution | Description |
|---|---|
| Site Inductions | Make sure everyone knows their roles and site rules. |
| Safety Analysis | Check the site and equipment for hazards. |
| Quality Assurance Inspection | Inspect all materials and tools for defects. |
| Establish Work Zone | Set up barriers to keep the area safe for workers and guests. |
| Install Life Safety Systems | Confirm that safety systems are active during setup. |
You also need enough room for your backdrop. Standard sizes fit most events. Use the table below to plan your space:
| Backdrop Size | Width (ft) | Height (ft) | Application Description |
|---|---|---|---|
| 8ft x 8ft | 8 | 8 | Great for photo shoots, interviews, and product displays. |
| 8ft x 7.5ft | 8 | 7.5 | Fits Atlas stands, ideal for low ceilings. |
| 7.6ft x 7.6ft | 7.6 | 7.6 | Slightly smaller, used by some manufacturers. |
Note: Clear at least one foot around the backdrop for easy access during installation.
Install Tension Fabric Backdrop
Unpack and Organize Parts
First, open your tension fabric backdrop kit. Put all the parts on a clean, flat area. Make sure you have every frame tube, base foot, and the fabric cover. Sort the pieces by size. Label them if you need to. This step helps you find missing or broken parts before you start.
Tip: Keep the fabric cover away from sharp things. This stops snags or tears.
Connect Frame Tubes
Start building the frame by joining the aluminum tubes. Most tubes have snap buttons or labels to help you. Match the numbers or letters on each tube. Push them together until you hear a click. Check each connection to make sure the frame is strong and straight.
| Common Problems | Recommended Solutions |
|---|---|
| Pieces not fitting together right | Check the labels on poles to ensure correct connections. |
| Loose connections | Inspect hardware for rust and apply lubricant as needed. |
| Frame not stable | Check the ground level and adjust leg heights for balance. |
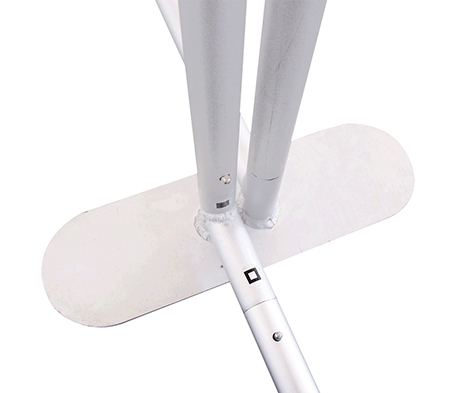
Attach Base Feet
Slide the base feet onto the bottom of the frame. Make sure they are tight so the frame stands up straight. If you use your tension fabric backdrop outside or in busy places, add sandbags or water weights for more support.
Note: Safety is important in public areas. Make sure your structure follows local safety rules and can handle daily use.
Slide On Fabric Cover
Stand the frame up. Take the fabric cover and pull it over the top of the frame like a pillowcase. You can work from the top down or side to side. Smooth the fabric as you go to stop wrinkles or bunching.
Best Technique for Sliding the Fabric Cover:
Connect all the frame poles.
Pull the fabric cover over the frame from the top or side.
Adjust the fabric gently so it does not stretch or tear.
| Material Type | Characteristics |
|---|---|
| Laminated polyesters | Lightweight, flexible, good for many uses |
| PVC-coated polyesters | Strong, weatherproof, great for outdoor use |
| Woven fiberglass w/PTFE | Very strong, lasts long in tough places |
| PVC acrylic | Tough, blocks UV, can last up to 20 years |
| PVDF membranes | Very tough, weatherproof, lasts a long time |
| PVC-PVDF | Strong, blocks UV, cleans itself |
Picking the right material helps your tension fabric backdrop work well in different places.
Zip and Secure Fabric
When the fabric is on, zip it closed at the bottom of the frame. Use the strong zipper to make the fabric tight and smooth. Make sure the zipper lines up for a neat look.
Pull the graphic down over the frame.
Zip it at the bottom for a tight, pro look.
| Common Problems | Recommended Solutions |
|---|---|
| Fabric zippers misaligned | Make sure the frame is straight and put together right. |
| Wrinkled fabric during setup | Lay out and practice putting it together to stop creases. |
| Fabric tension issues | Stretch fabric evenly and check corners before closing. |
Final Adjustments and Tips
After zipping, step back and look at your tension fabric backdrop. Check for wrinkles, snags, or creases. Fix the fabric by gently pulling at the corners or sides. If you see sagging, check the frame and base feet.
Final Adjustment Checklist:
Look for wrinkles on the fabric.
Make sure nothing is caught on the frame.
Find any creases and smooth them out.
Troubleshooting Tips:
Test your setup before the event to find loose parts.
Change leg heights or add weights for better balance.
Use a hand steamer on low heat to get rid of wrinkles.
Store the fabric flat or rolled to stop creasing.
Pro Tip: Use clear graphics and keep key parts in the center. Bright colors help your display stand out.
Popular Accessories:
| Accessory/Addon | Description |
|---|---|
| Add-on Panels | Make your display look better with extra graphics on the sides. |
| LED Spotlights | Make your display brighter and easier to see. |
| TV Mounts | Add screens for fun and interactive shows. |
| Transportation Cases | Keep your backdrop safe when you store or move it. |
Maintenance Routine:
Wash polyester covers in cold water with mild soap. Wipe vinyl with a wet cloth.
Dry everything before storing to stop mold.
Store in a dry place using tubes or cases.
Do not use high heat when steaming or drying.
Use special tapes and tools for fixing fabric.
A tension fabric backdrop is light, washable, and better for the planet than vinyl or paper. You can set it up in about five minutes, even if you are new or have done it before.
You can put up a tension fabric backdrop fast. It will look neat and professional. If you get ready first, you will have many benefits:
You can put it together easily and set it up fast.
It is light and easy to carry.
The material is strong and does not wrinkle.
The graphics are bright and you can change them.
Follow the checklist and tips to do your best.
FAQ
How do you remove wrinkles from a tension fabric backdrop?
You can use a hand steamer on low heat. Always test a small area first. Avoid high heat to protect the fabric.
Can you wash the tension fabric graphic?
Yes. You can wash polyester covers in cold water with mild soap. Air dry the fabric before storing it.
What if your frame feels unstable after setup?
Check that all tubes connect tightly. Add weights to the base feet for extra stability. Make sure the ground is level.